One thing that seems so hard to get or find is the html need to make our Studios look good - lots of nice example out there, not so many instructions and those that are there are some what vague.
If someone could help, I would appreciate it.
How to change the Nav Bar and Menu area would be a good start.
Everything that can be customized natively in your Studio from a design perspective is available in the Brand Design section of your Studio settings. If you have something specific in mind for the navbar or menu area, could you let us know what you’re looking to achieve? We are actively working to expand our customization options, and your input is greatly appreciated.
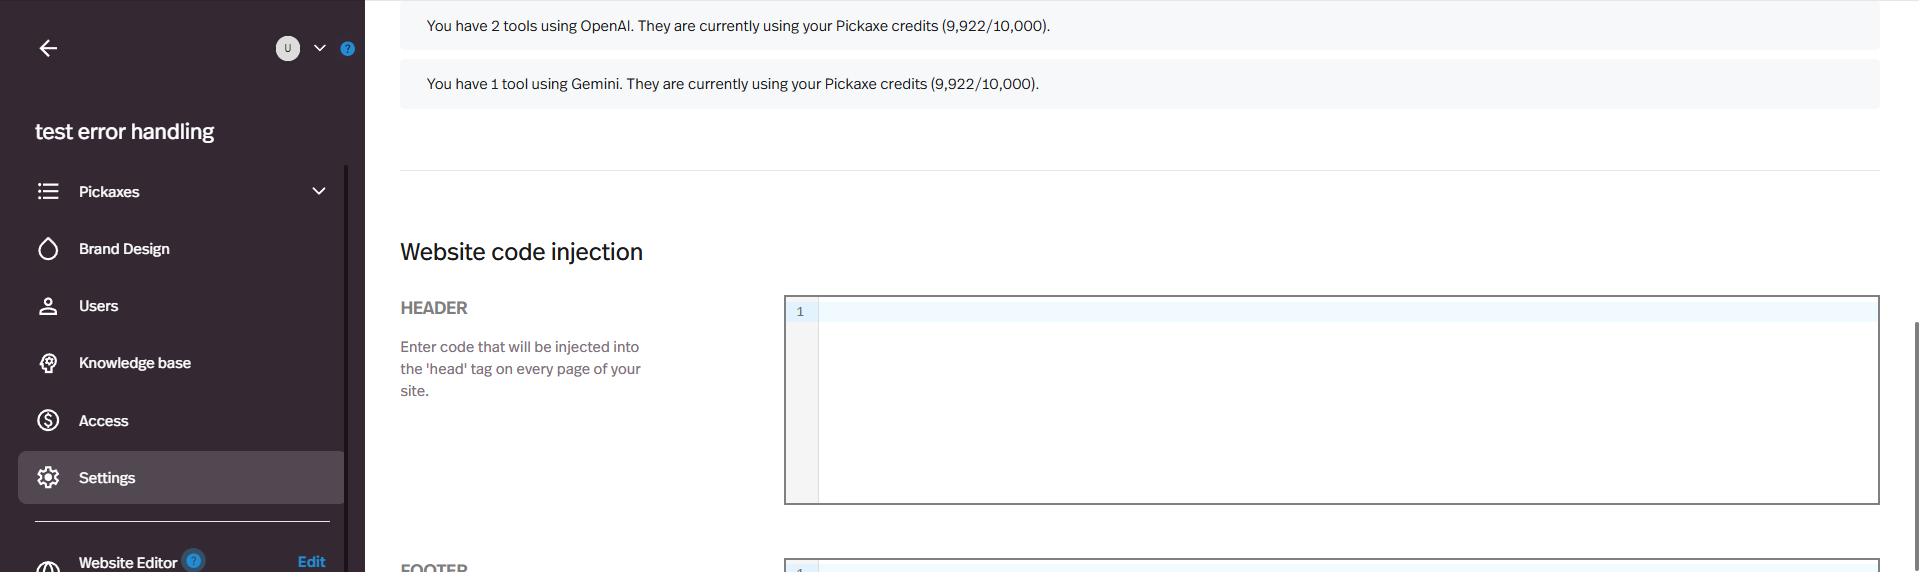
Recently, I assisted another user in changing the colors of the sidebar and top navbar using the Website Code Injection feature, which you’ll find in your Studio settings:
<style>
  /*Change the background color of the sidebar */
  #sidebar{
      background-color: black !important;
  }
  /* Change the background color of the header */
  .relative.flex.min-h-\[80px\].w-full.items-center.justify-between {
      background-color: #000 !important;
  }
  .relative.flex.min-h-\[80px\].w-full.items-center.justify-end {
    background-color: #000 !important;
  }
</style>
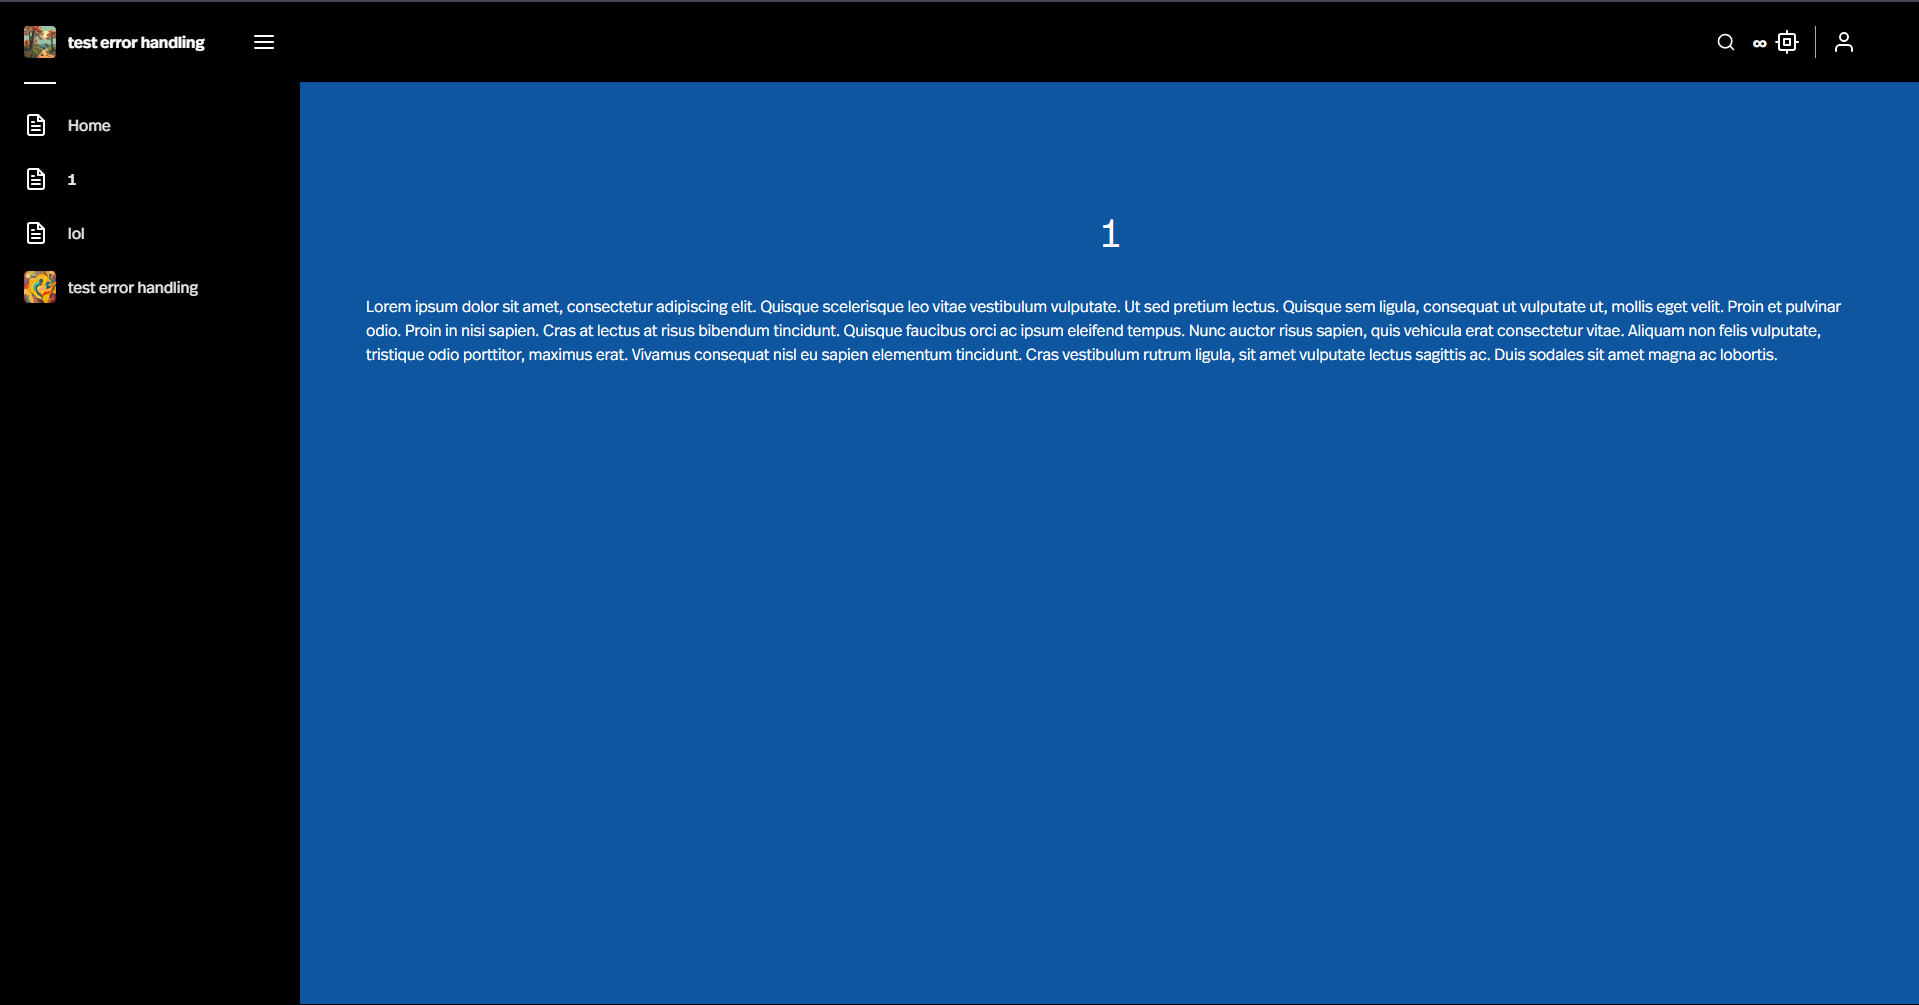
The code above targets the sidebar and navbar and changes their background color to black. If you can provide a bit more detail about what you’d like to change, I’d be happy to help further or suggest additional customizations.
All I am trying to do is kind of blend in the main opafe with the said bar and nav bar - I have a black / grey them going on with white nav and side bars.
I know where the code areas are, bit which box does it go in as there are 4 - but not the footer, so only 2 or is there another area?
For feedback, it would be nice to know all the style and script tags for the main areas.
I added this to the Header section - but no changes
<html>
<head>
<body>
<style>
  /*Change the background color of the sidebar */
  #sidebar{
      background-color: black !important;
  }
  /* Change the background color of the header */
  .relative.flex.min-h-\[80px\].w-full.items-center.justify-between {
      background-color: #000 !important;
  }
  .relative.flex.min-h-\[80px\].w-full.items-center.justify-end {
    background-color: #000 !important;
  }
</style>
</body>
</head>
I know you have just added the Style Tagss, but I also think those that have not used HTML before , do not know how to insert within the head and body tags, so I good way to show people would be a before and after showing the steps to achieve the after styling.
@ihmunro
Just to clarify: the code I provided does work, but the version you tried may not have because it includes <html>, <head>, and <body> tags. In the Website Code Injection settings, the Header section is specifically designed to inject code directly into the <head> tag of every page — so you don’t need to include those outer tags yourself.
Regarding what you are trying to achieve, could you share a few screenshots or provide a more detailed description of your layout and styling goals? That’ll help others in the community, to better understand your design goals and offer better suggestions.
I am sitting there making changes and nothing is happening and only by chance I had to go to the published website and noticed that the changes had taken place.
Is there a way to add a hyperlink in the nav bar. I got around it by adding a page and put the hyperlink in the body of the page, but I would like it to go directly to the hyperlink when you click on the left handed menu
You can use the following script to make a specific content page redirect to a custom URL when clicked:
<script>
(() => {
  // IMPORTANT Edit this to the URL you want the button to redirect to
  const TARGET_URL = "https://example.com";

  // CSS selector
  const SIDEBAR_SELECTOR = "body"; // leave as body if unsure

  // IMPORTANT Text label of the button you want to change (case-sensitive exact match after trimming)
  const BUTTON_LABEL = "hyperlink";

  // Handler: find matching button(s) and attach a click handler that redirects
  function attachRedirectHandlers(root = document) {
    const buttons = Array.from(root.querySelectorAll("button"));
    buttons.forEach((btn) => {
      // skip buttons already processed
      if (btn.dataset.redirectAttached === "1") return;

      const label = (btn.textContent || "").trim();
      if (label === BUTTON_LABEL) {
        // capture the click early, stop other handlers, and redirect
        btn.addEventListener(
          "click",
          (e) => {
            e.preventDefault();
            e.stopImmediatePropagation();
            // Optional: small delay so any UI effects complete, remove if you want immediate redirect
            window.location.href = TARGET_URL;
          },
          { capture: true }
        );

        // mark processed so we don't attach twice
        btn.dataset.redirectAttached = "1";

        // optionally change cursor to indicate a link
        btn.style.cursor = "pointer";
      }
    });
  }

  // Run once in case the element already exists
  attachRedirectHandlers(document);

  // Observe DOM changes so the script works even if the sidebar renders dynamically
  const observer = new MutationObserver((mutations) => {
    for (const m of mutations) {
      if (m.addedNodes && m.addedNodes.length) {
        attachRedirectHandlers(m.target || document);
      }
    }
  });

  const root = document.querySelector(SIDEBAR_SELECTOR) || document.body;
  observer.observe(root, { childList: true, subtree: true });

  // Optional: stop observing after 30s to reduce overhead
  setTimeout(() => observer.disconnect(), 30_000);
})();
</script>
Please make sure to replace the placeholder URL here: const TARGET_URL = "https://example.com";
Make sure the button label exactly matches the name of the content page: const BUTTON_LABEL = "hyperlink";
This will cause the content page you specify to redirect to a custom URL when a user clicks on it. After making the necessary edits, paste the code into the Header section of the Website Code Injection feature found in your Studio’s Settings.